Follow these simple steps to install plugins onto your Minecraft server.
- First, login to the SMpicnic Control Panel and navigate to your Server Manager page.
- Install either Craftbukkit or Spigot as your Server Jar.
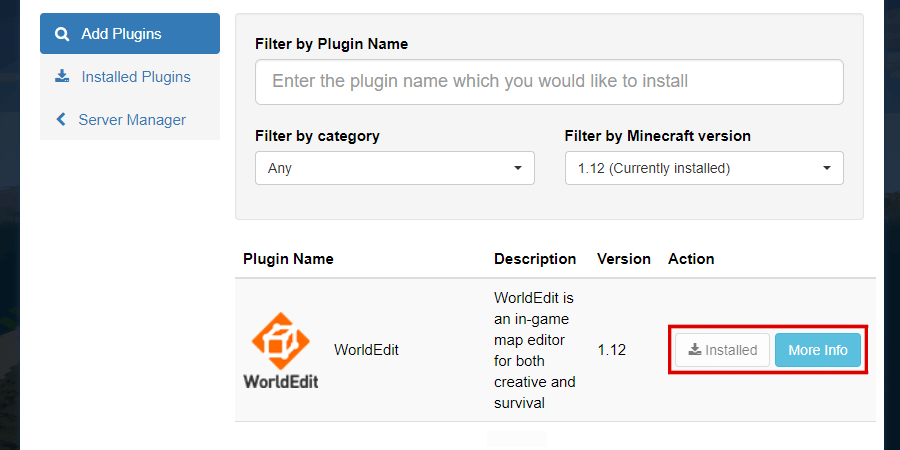
- Click the Plugins tab.

- Once you locate a plugin you wish to install, click the Install option to the right of the plugin name. Please keep in mind some plugins may require other plugins to load properly. If another plugin is required, the information will be included on the plugin page located through the More Info option.
- Restart your server.
- Finished! Your new plugin will now be available on your server.
Additionally, you can manually upload plugins through FTP access
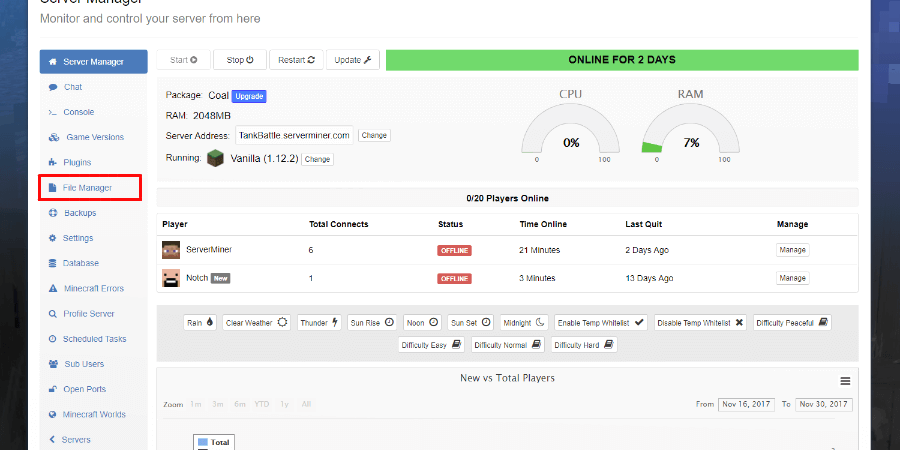
- First, login to the SMpicnic Control Panel and navigate to your Server Manager page.
- Click on the File Manager tab and connect to your server using FTP access.
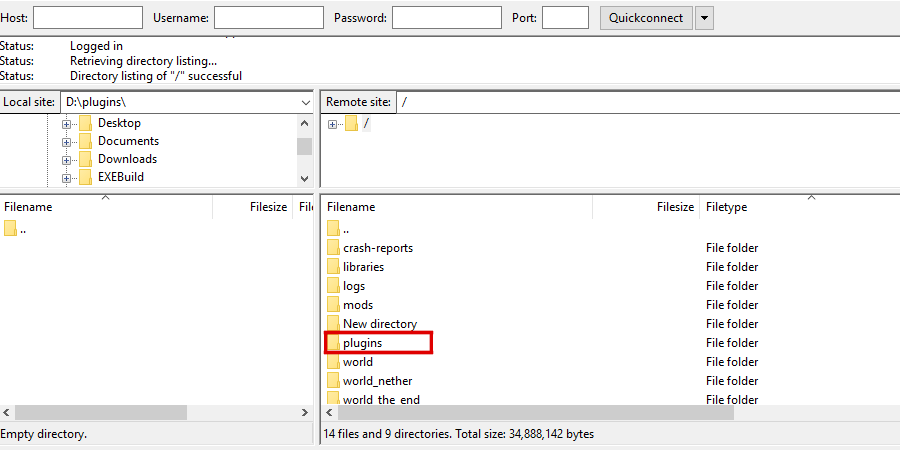
- Upload the desired plugins to your server's
pluginsfolder. Please keep in mind some plugins may require other plugins to load properly. If another plugin is required, the information will be included on the plugin page.
- Restart your server.
Finished! Your new plugins will now be available on your server. Happy mining! ⛏️