Follow these simple steps to enable and use Minecraft's Whitelist feature. This will make your server private so only you and your friends can connect.
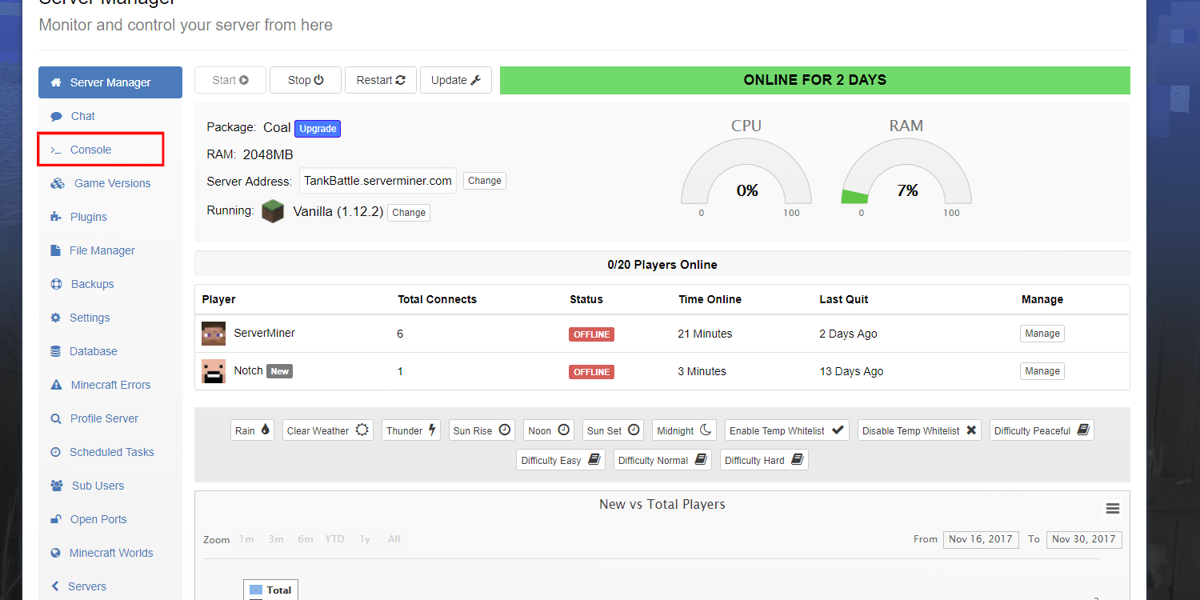
- First, login to the SMpicnic Control Panel and navigate to your Server Manager page.
- Click on the Console tab.
- To enable the Whitelist, enter the command
whitelist on. Your server is now only accessible if your Minecraft username is added to the whitelist. - To add a Minecraft player to your whitelist, enter the command
whitelist add USERNAMEinto the console. Replace USERNAME with the player's Minecraft username. - To remove a Minecraft player from your whitelist, type the command
whitelist remove USERNAMEinto the console and also replace USERNAME with the player's Minecraft username.
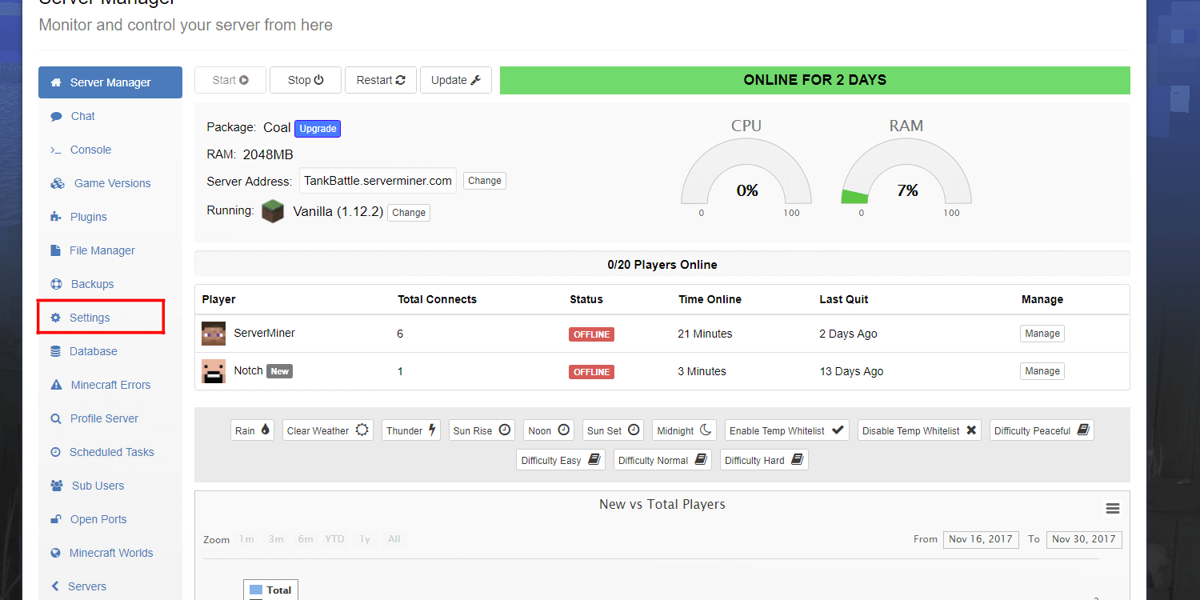
Alternatively you can enable or disable the whitelist in the server.properties file using SMpicnic.
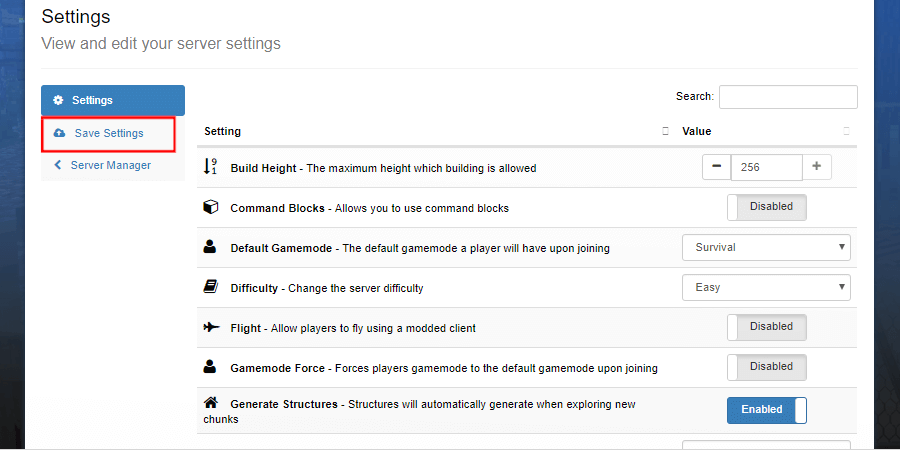
- Navigate to your Server Manager page and click on the Settings tab.
- Near the bottom of the page, set the Whitelist to Enabled.
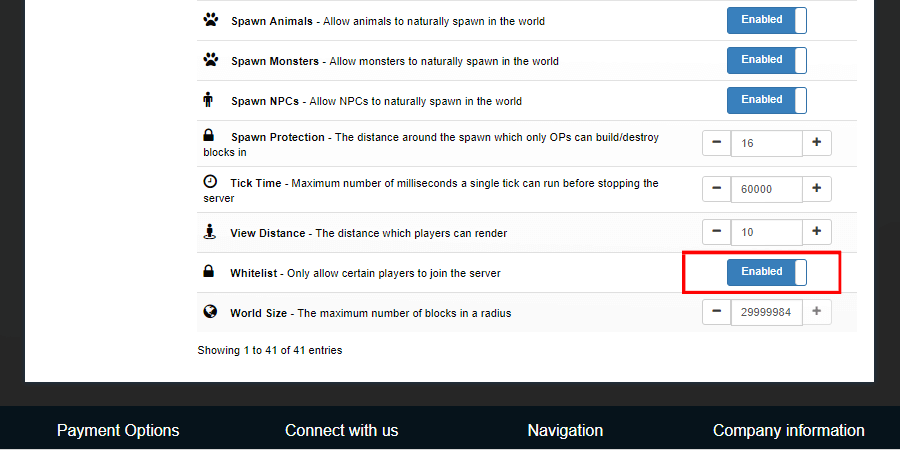
- Click Save Settings.
- Navigate back to your Server Manager page and then restart your server. Once your server has finished restarting, the whitelist will be enabled.
Happy mining! ⛏️