Follow these simple steps to have your Minecraft Server run scheduled commands.

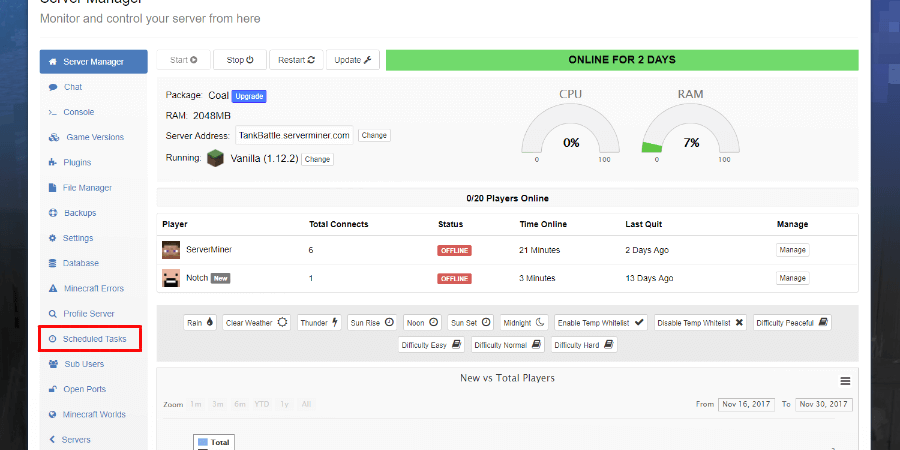
  1. First, login to the SMpicnic Control Panel and navigate to your Server Manager page.
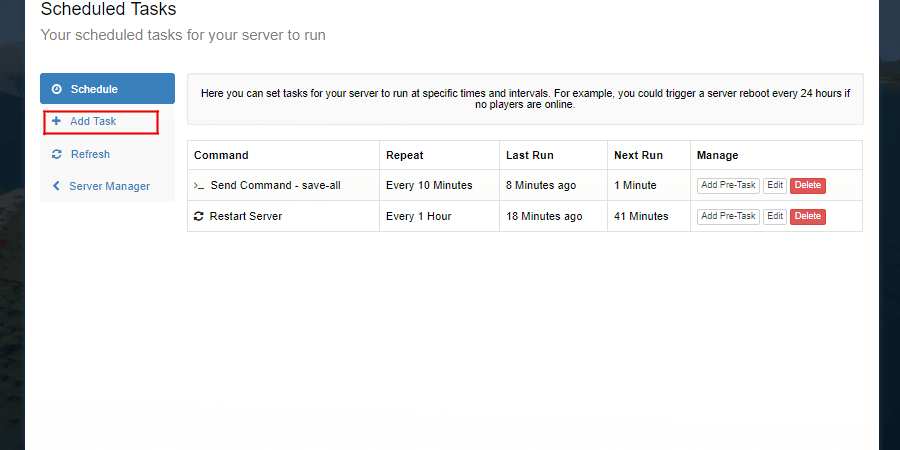
  2. Click the Scheduled Tasks tab.
    Scheduled Tasks tab location from the SMpicnic Control Panel.
  3. Click Add Task.
    Add Task location from the Scheduled Tasks tab.
  4. Select a task.
    Task select location showing the Admin Say command and message option.
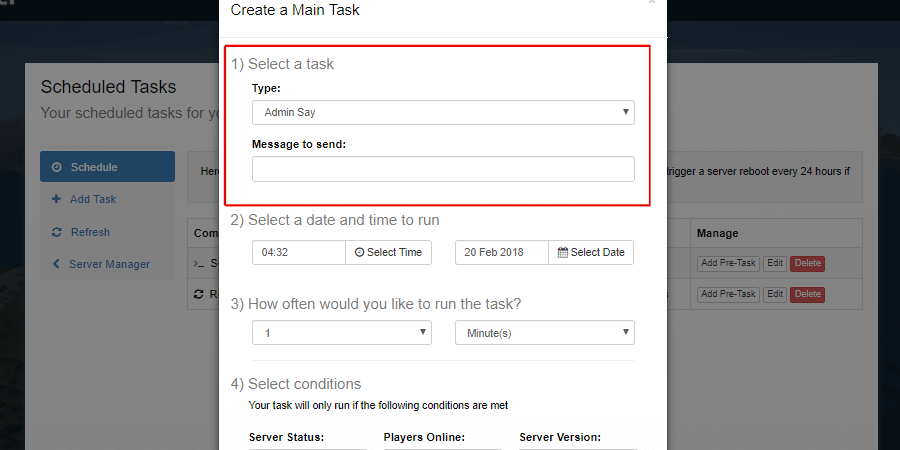
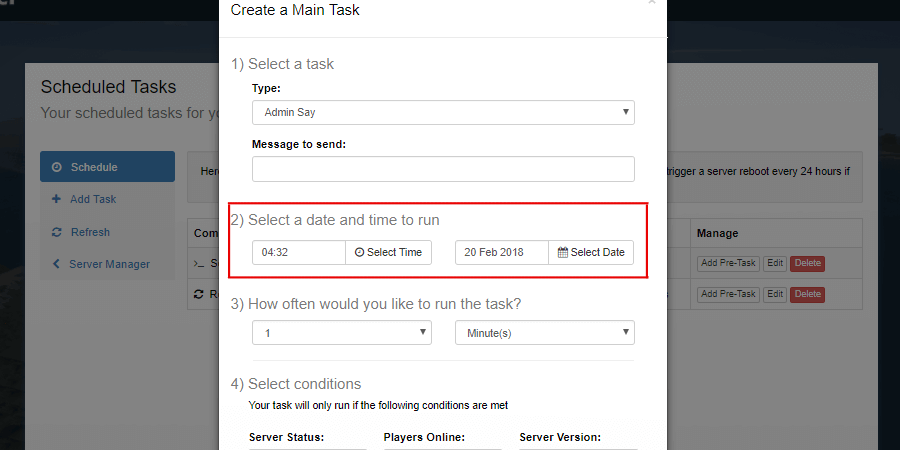
  5. Select a date and time.
    Date and Time locations on the Add Task Form.
  6. Select the frequency.
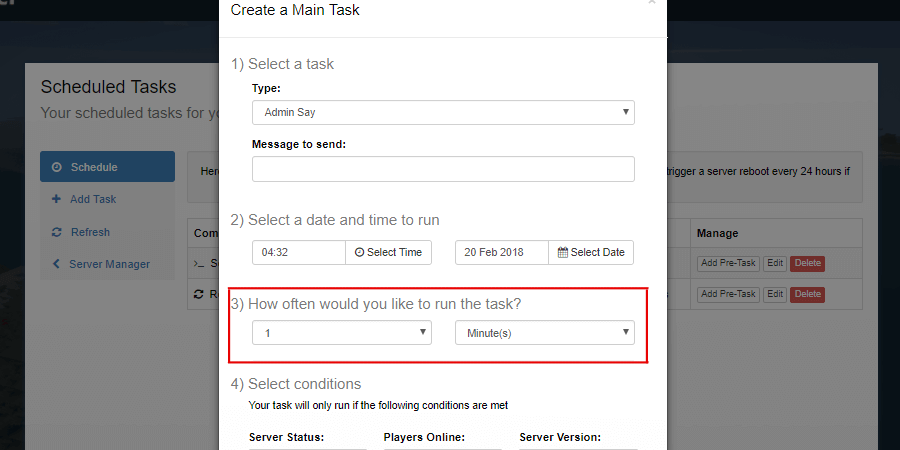
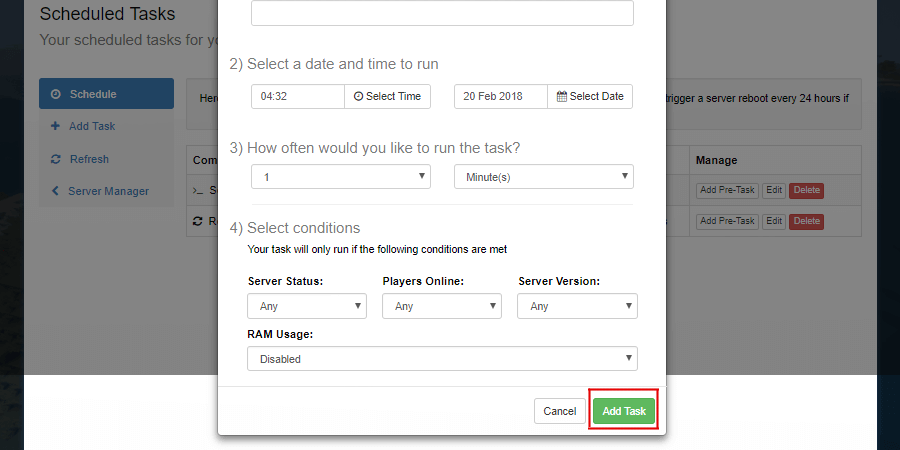
    Frenquency location on the Add Task Form.
  7. Set the Conditions.
    Task Conditions location on the Add Task Form.
  8. Click Add Task.
    Add Task confirmation location on the Add Task Form.
  9. Finished! You now have a task scheduled! Happy mining! ⛏️